Inventory Management

How to manage your locations and rooms?

From the sidebar menu, select the Manage Rooms icon. A new page will open where you can add or edit details for rooms or locations. 

Adding a new location (make sure your plan allows additional locations): 

  • Scroll to the bottom of the page and enter the location name and description. 
  • Select the green "Create" button to save the new location. 
  • To edit details of an existing location, select the edit icon and enter your changes.  
  • Select the "Save" button once you're finished. 

Adding a new room: 

  • At the top of the page, enter a new room name, select the room's location (if you have more than one) and add a description. 
  • Select the green "Create" button to save the new room. 
  • To edit details of an existing room, find the room you wish to update and select the edit icon.  
  • Edit the information and select the "Save" button once you're finished. 

How to add new inventory items?

There are several ways you can add new items to your Scan IM database.

Manual Entry Method

  • From the home page, select the green "+" icon at the bottom of the screen and choose "Create Item." On the Item Number (SKU/UPC) line, enter the SKU/UPC number by scanning the item's barcode or by typing it in by hand.
  • From here, select the "Enter your data manually" link and enter all the pertinent information for that item.  
  • Click the green "Save Item" button when finished. 
  • Your item will now appear in the Scan IM app. 

UPC Web Lookup Method

  • From the home page, select the green "+" icon then select "Create Item." On the Item Number (SKU/UPC) line, enter the SKU/UPC number of the item you wish to add. You can enter the item number by scanning the item's barcode or by typing it in by hand.
  • If that item is not in your database, the app will show no results and allow you to select the "Search the web" link. Once selected, the system will auto-populate the item name, a picture, and a description if one is available. From here, enter all the pertinent information and select the green "Save Item" button to finish adding the item to your database.  
  • If the "Search the web" link does not appear after entering the Item Number (SKU/UPC), you will need to enter the item manually. 

Bulk CSV Upload Method

If you have multiple items to add, you can upload those items in bulk using the CSV upload template.  

  • On the left sidebar menu, select Manage Items and follow the CSV upload steps listed at the top of the page.

Always consider which location and room you'll be adding items to before filling out the CSV template. CSV uploads can add items to existing locations and rooms as long as your spelling matches what's already in the system (not case-sensitive). You can also use the template to create new locations or rooms by typing in a new name (just make sure the number of new locations and rooms doesn't exceed your plan's limit).

The following fields are required for each unique item you add to the template. When filling out the template, do not use any commas or this will cause problems when uploading the CSV file:

  • Location
  • Room
  • Item # (SKU/UPC number)
  • Item Name
  • Quantity on Hand
  • Unit of Measure 
  • Low Level and Overstock Alert Quantity

We accept the following Units of Measure (not case-sensitive). If you enter a Unit of Measure that is not on this list, it will default to "OTHER" once uploaded to Scan IM. 

  • EACH
  • ROLL 
  • TUBE 
  • BOTTLE 
  • PACK 
  • BOX 
  • CASE
  • OTHER

IMPORTANT: once you're finished filling out the template, be sure to set the number format in all cells to "Text" before saving the file as a CSV. Not following this step could cause issues when uploading items to Scan IM. If you're unsure how to change the cell formatting, follow these steps: 

  • Click the top left corner of your spreadsheet where the numbered rows and columns intersect. Once clicked, all cells should be selected.  
  • Right-click on any cell and select "Format Cells" in the pop-up window. 
  • Select the category option "Text" and click OK. 
How to view your inventory items?
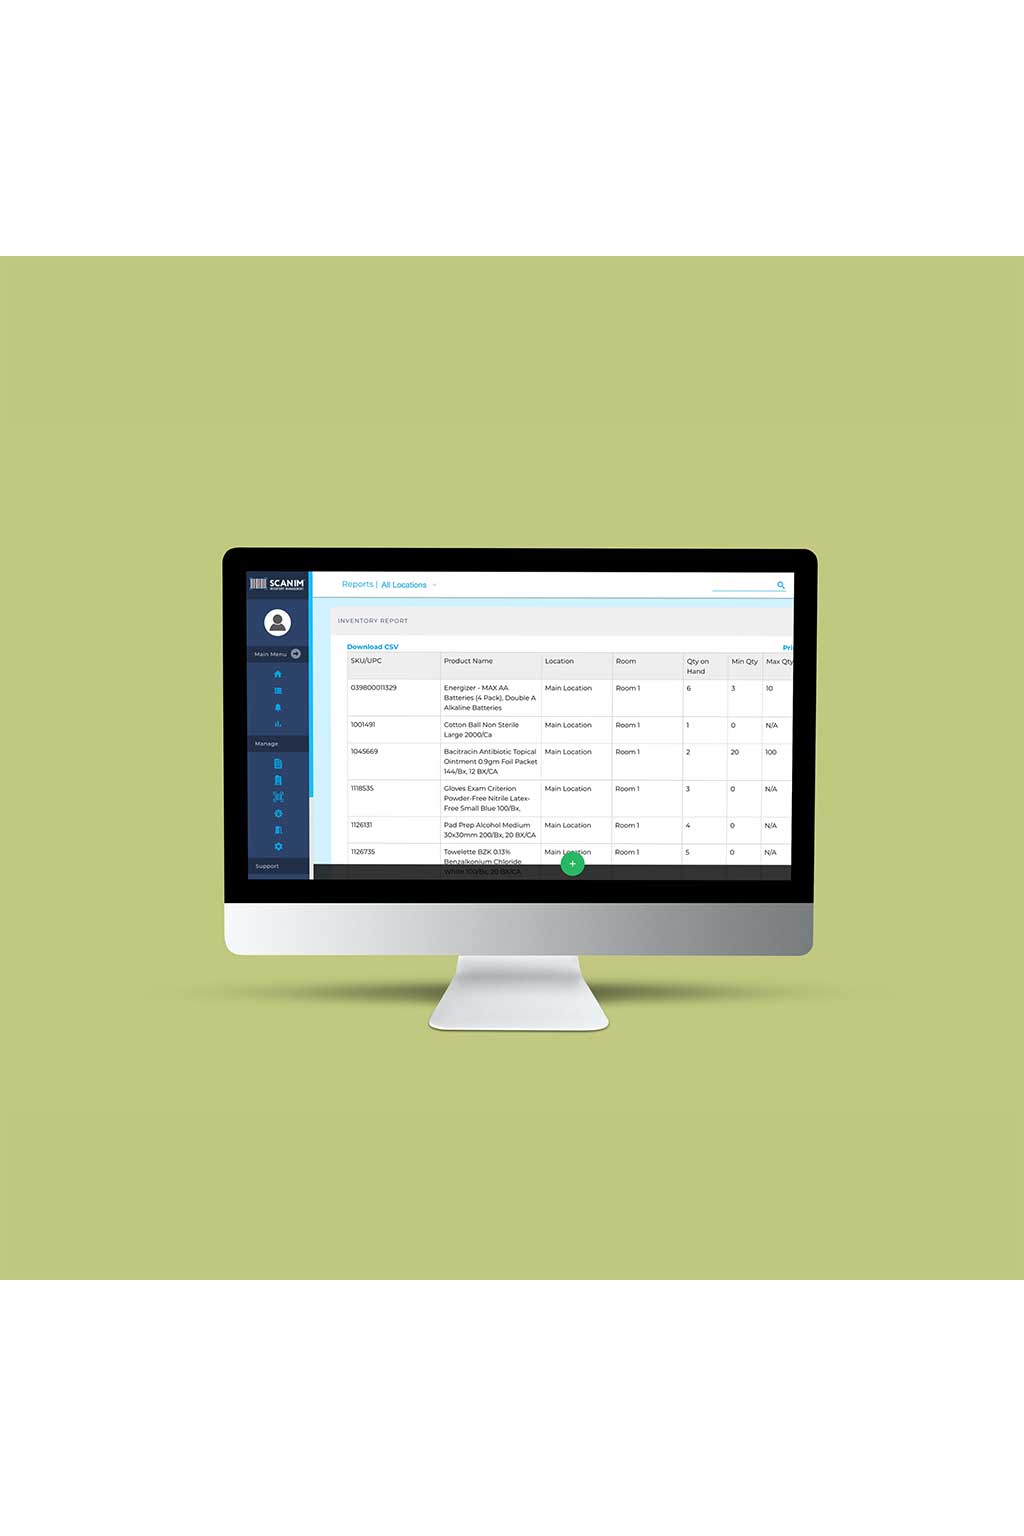
  • From the home screen, select the "View Inventory" button located under the Manage Inventory section of your dashboard.  
  • Find items you'd like to view using the search bar in the top right corner of the page by entering the item name, a description, or by scanning or typing the item number. You can also filter items by room or location using the dropdowns found at the top of the page. 
How to pull, restock, and transfer items?

Pulling Items 

Pulling items helps your team keep better track of inventory by documenting when and where items are pulled for general use or waste. 

  • From the home screen, select "Pull Items" located under the Manage Inventory section of your dashboard. 
  • If using a barcode scanner, click on the search bar and scan your item to search. If you're not using a barcode scanner, you can still locate the item you wish to pull by typing the item number (SKU/UPC), item name, or item description into the search bar.  
  • Select the item you wish to pull.  
  • In the "Amount of Change" field, enter the item quantity you wish to pull. 
  • Select if this item is for General Use or Waste. 
  • Click "Update" to save your progress. 

Restock Items 

Restocking items helps your team keep better track of inventory by documenting when and where items get restocked. 

  • From the home screen, select "Restock Items" located under the Manage Inventory section of your dashboard. 
  • If using a barcode scanner, click on the search bar and scan your item to search. If you're not using a barcode scanner, you can still locate the item you wish to restock by typing the item number (SKU/UPC), item name, or item description into the search bar. 
  • Select the item you wish to restock. 
  • In the "Amount of Change" field, enter the item quantity you wish to restock. 
  • Click "Update" to save your progress. 

Transferring Items 

Transferring items helps your team keep better track of inventory by documenting when items are being transferred to different rooms or locations. 

  • From the home screen, select "Transfer Inventory" located under the Manage Inventory section of your dashboard. 
  • At the top of the page, select the starting location you are transferring the item from. If you have this item in multiple rooms, make sure to select the correct room. 
  • If using a barcode scanner, click on the search bar and scan your item to search. If you're not using a barcode scanner, you can still locate the item you wish to transfer by typing the item number (SKU/UPC), item name, or item description into the search bar.
  • Select the item you wish to transfer. 
  • Enter the amount to transfer and verify the Starting Location. 
  • Select a Destination Room from the dropdown (where you are transferring the item to). 
  • Click "Transfer" to save your progress. 
How to perform an inventory audit?
  • From the home screen, select "Audit Inventory" located under the Manage Inventory section of your dashboard. 
  • At the top of the page, select the room where you are auditing inventory. 
  • If using a barcode scanner, click on the search bar and scan your item to search. If you're not using a barcode scanner, you can still locate the item you wish to audit by typing the item number (SKU/UPC), item name, or item description into the search bar. 
  • Select the item you wish to audit. 
  • Enter the total quantity of that item in the room. 
  • Click the "Save" button to finish auditing that item. 
How to set up and use a Unit of Measure (UoM) for your items?

How to Use 

Unit of Measure (UoM) specifies the way you count and track inventory items on hand. Each unique item in your Scan IM database will require a UoM selection from the following options: EACH, ROLL, TUBE, BOTTLE, PACK, BOX, CASE, or OTHER.   

If you purchase or sell items in a UoM that is different from the one being used for counting and tracking inventory, then a Secondary UoM can be created. For example, if you are tracking the number of "widgets" on hand by the PACK but you purchase those same widgets by the CASE, you could set up a Secondary UoM to distinguish how many PACKS of widgets come in a CASE. If there are 12 PACKS of widgets in a single CASE, your Secondary UoM would be set up as follows: 

  • Widget Unit of Measure: PACK
  • Secondary Unit of Measure: CASE 
  • Quantity per Secondary Unit of Measure: 12 

How to Set Up 

  • From the home page, select "View Inventory" and choose the item you wish to update. 
  • In the top right corner, select "Edit Base Item" and scroll down to the Location & Item Details section where you can adjust the Unit of Measure settings for that item. 
  • Once finished, click the green "Save Item" button to save your changes. 
How to add/update images on items?
  • From the home page, select "View Inventory" and choose the item you wish to update. If you're adding a new item for the first time, images can be uploaded during the initial creation process. 
  • In the upper left corner of the item page, select the "add image" icon located above the green button. If you'd like to change an item's existing image, simply click on that image. 
  • Select the image file that you'd like to use from the pop-up window. All images must be in a PNG, JPG, or GIF format and have a maximum file size of 3MB.   
  • Once finished, select the green "Save Item" button to save your image.

Upgrade Expires In:

XCancel Upgrade